


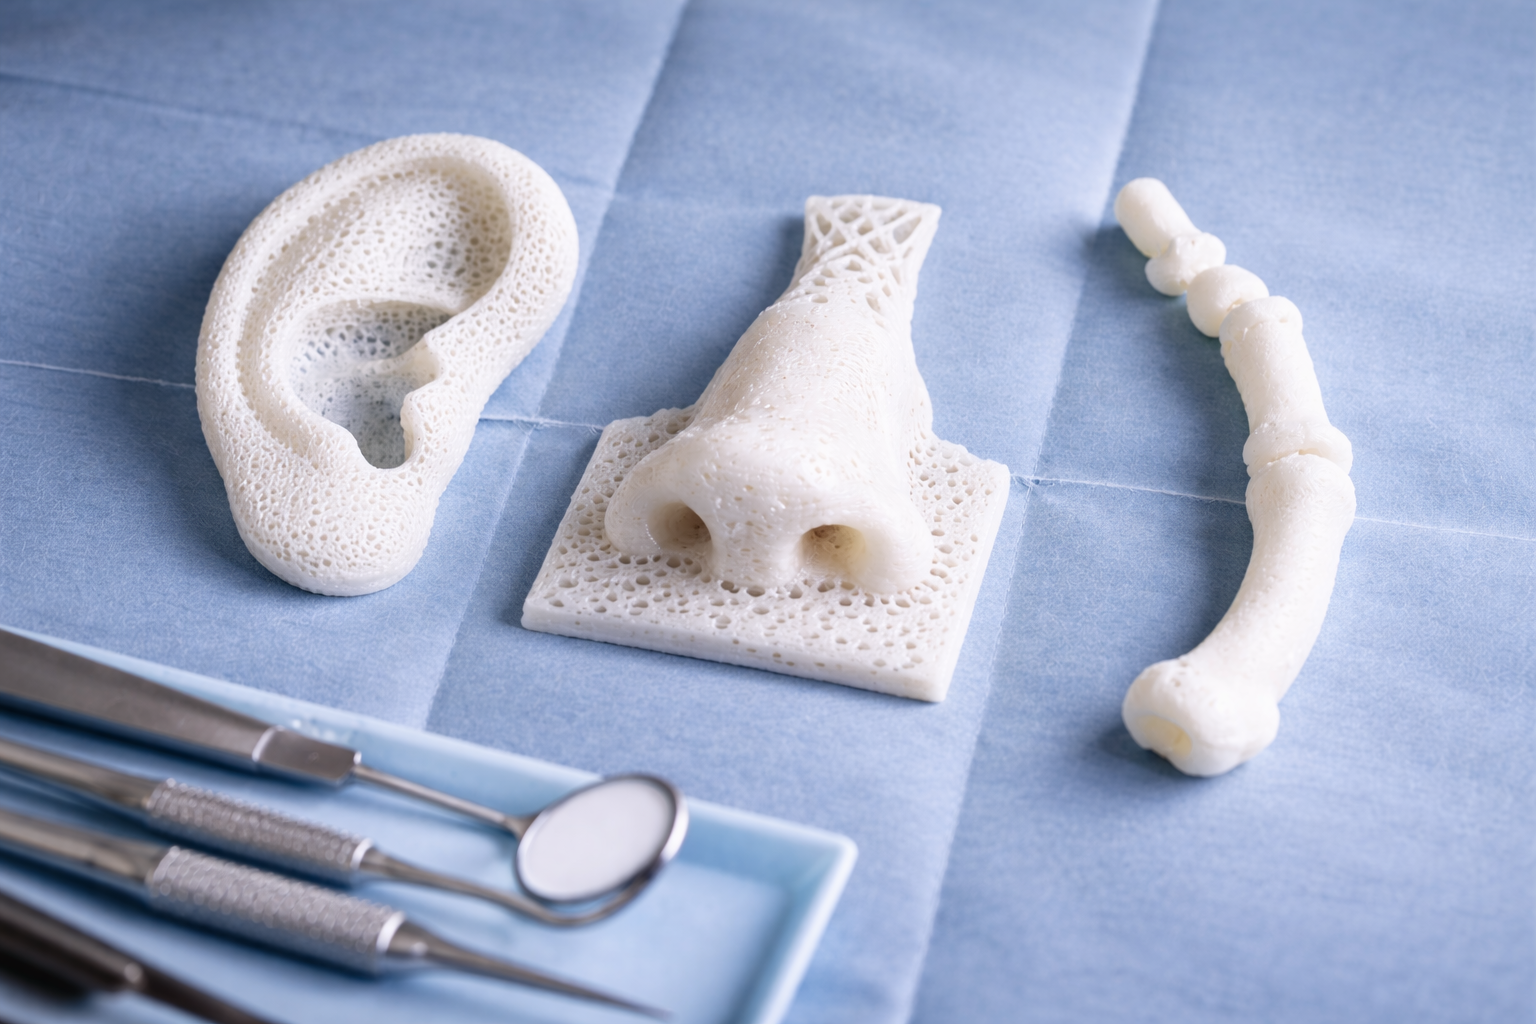
When people talk about 3D printing in medicine, the conversation often jumps quickly to printed organs, artificial tissue, or other futuristic ideas. In day-to-day medical manufacturing, however, the technology is being used in much more practical ways: patient-specific anatomical models, surgical guides, implant structures, dental devices, prosthetics, and product development.
What makes medical 3D printing useful is not simply that it can produce complicated shapes. Its real advantage appears when customization, internal geometry, or low-volume production makes conventional manufacturing inconvenient or expensive.
At the same time, printing is rarely the end of the manufacturing story. A printed titanium implant may still need CNC machining. A printed surgical device prototype may eventually become an injection-molded product. A dental component may be printed, milled, sintered, polished, or produced through a combination of processes.
That is where medical 3D printing becomes more interesting from an engineering point of view.

The Medical 3D Printing Process Starts Before the Printer
For a patient-specific medical model, the process may begin with CT or MRI data rather than a conventional CAD drawing. The anatomy is segmented, converted into a 3D model, reviewed, prepared for manufacturing, and only then sent to the printer.
A simplified workflow looks like this:
| Stage | Main Task | Typical Risk |
|---|---|---|
| Imaging | CT / MRI data acquisition | Insufficient image resolution |
| Segmentation | Isolate required anatomy | Incorrect anatomical boundary |
| Clinical review | Surgeon / radiologist confirms model | Wrong clinical interpretation |
| Model preparation | Repair and prepare digital geometry | Unintended geometry changes |
| Printing | Build the physical part | Distortion, shrinkage, support effects |
| Post-processing | Curing, heat treatment, support removal | Dimensional change |
| Inspection | Verify critical geometry | Incomplete inspection strategy |
The clinical review step is especially important. A highly accurate printer cannot correct an inaccurate segmentation.
For this reason, asking only for printer accuracy can be misleading. The final result depends on the whole chain, from imaging and digital reconstruction to printing and post-processing.
In other words, medical 3D printing accuracy is a workflow problem, not just a machine specification.
Surgical Models Are Simple — Until Accuracy Starts to Matter
One of the clearest applications is a patient-specific anatomical model.
For a complicated cranial or orthopedic case, a physical model allows a surgeon to inspect geometry from angles that are less intuitive on a monitor. It can help with surgical planning, communication between teams, or checking how an implant or fixation plate may fit.
For a visual planning model, small dimensional variation may not create a serious problem. A surgical guide is different.
Once a printed component starts controlling the position of a drill, cutting plane, or implant, the required level of control increases significantly. A useful way to think about the difference is:
| Application | Main Requirement | Relative Accuracy Importance |
|---|---|---|
| Educational anatomical model | Visual representation | Medium |
| Surgical planning model | Anatomical fidelity | High |
| Patient-specific surgical guide | Position and fit | Very high |
| Implant component | Geometry + material + mechanical performance | Critical |
This difference is sometimes missed when all medical 3D printing applications are grouped together.
The printer may be the same. The engineering requirement is not.
Where Metal 3D Printing Has a Real Advantage
Implants are probably the best example of where additive manufacturing provides something conventional machining struggles to reproduce.
If a component contains a complex lattice or porous region, machining it from solid titanium may not be practical. Additive manufacturing can create those structures directly.
This is particularly useful when engineers want:
-
Complex porous structures
-
Patient-matched external geometry
-
Internal features that cutting tools cannot reach
-
Topology-optimized structures
-
Reduced material in non-critical areas
But printed implants often still contain conventional mechanical features.
A part may have a printed porous body but also require:
-
H7 or similar precision bores
-
Threaded connections
-
Flat mating surfaces
-
Datum faces
-
Mounting holes
-
Controlled surface roughness
These features may be better produced by CNC machining.
A realistic route may therefore be:
Metal printing → stress relief → support removal → CNC machining → finishing → cleaning → inspection
That combination is often more practical than trying to force one process to do everything.
The Hard Part of Hybrid Manufacturing Is Usually Not the CNC Tolerance
This is one of the areas that looks simple on paper but becomes difficult in production.
Suppose a printed titanium component needs a precision bore with a tolerance of ±0.01 mm. A capable CNC machine can hold this kind of dimension.
The bigger problem is determining where that bore should be positioned relative to the printed geometry.
A printed part may contain:
-
thermal distortion;
-
uneven machining allowance;
-
irregular as-built surfaces;
-
geometry changes after heat treatment;
-
local dimensional variation caused by build orientation.
If the part is clamped using an unstable printed surface, the machining center may cut a very accurate feature in the wrong location.
For hybrid parts, engineers often need to think about secondary machining before printing begins.

Typical Design Considerations for Post-Machining
| Item | Why It Matters |
|---|---|
| Machining allowance | Ensures enough material remains after printing |
| Defined datum surface | Gives CNC and CMM a repeatable reference |
| Sacrificial pad or tab | Helps fixturing without damaging functional geometry |
| Fixture access | Prevents difficult or unstable clamping |
| CMM alignment | Links actual printed geometry back to nominal CAD |
| Tool access | Ensures post-machining can actually reach the feature |
This is why “print first, machine later” is not a complete process plan.
If post-machining is required, it should ideally be part of the original DFM discussion.
One Good Printed Part Does Not Mean the Process Is Ready for Production
Metal additive manufacturing becomes much harder when a project moves from prototype to repeat production.
A first sample may look perfect, but later builds can be influenced by a surprisingly large number of variables:
-
powder condition and reuse history;
-
laser parameters;
-
layer thickness;
-
build orientation;
-
location on the build plate;
-
support design;
-
machine condition;
-
heat treatment;
-
finishing method.
This matters because a medical project normally cannot rely on the idea that “the first one passed inspection, so the process is stable.”
A prototype answers:
Can we manufacture this geometry?
Production asks:
Can we manufacture this geometry repeatedly within a controlled process window?
Those are very different questions.
For repeat manufacturing, engineers may need to monitor not only dimensions but also mechanical properties, build records, material batches, post-processing parameters, and inspection results.
Prototype vs. Production Thinking
| Prototype Stage | Production Stage |
|---|---|
| Can the geometry be printed? | Can the geometry be repeated? |
| One successful build | Multiple consistent builds |
| Basic dimensional check | Defined inspection plan |
| Limited process documentation | Controlled parameters and traceability |
| Design evaluation | Process validation |
This is one of the reasons metal medical additive manufacturing is more difficult to scale than it first appears.
3D Printing Is Often Most Valuable Before Production
A large amount of medical 3D printing happens during product development rather than final manufacturing.
Consider a new handheld surgical instrument.
At the beginning, engineers may simply need to check whether the handle feels right, whether internal components fit, or whether buttons and connectors are positioned correctly. Printing is ideal for this stage because the design can be changed quickly without tooling.
Once the design becomes more mature, the process often changes.
A realistic development route may be:
3D printed prototype → vacuum casting → CNC engineering samples → verification → final production
Not every project follows this exact route, but it illustrates how different manufacturing methods answer different questions.

Typical Development Route
| Stage | Suitable Process | Main Purpose |
|---|---|---|
| Early concept | 3D printing | Shape, fit, ergonomics |
| Small polymer batch | Vacuum casting | 10–50 similar samples |
| Engineering verification | CNC machining | Final material and precision |
| Pre-production | CNC / molding / additive | Functional validation |
| Production | Process depends on volume and geometry | Repeatability and cost |
For example, vacuum casting can be useful when a team needs a small number of similar plastic housings but does not yet want to invest in injection molding.
Once tolerances, mechanical performance, or final material properties become more important, CNC machining or production tooling may be the better next step.
This is why we do not think of 3D printing as a single manufacturing destination.
Sometimes it becomes the final process.
Sometimes it is simply the fastest way to reach the next design decision.
Dental Manufacturing Shows Why “Digital” Does Not Always Mean “Printed”
Dentistry is one of the most mature areas of medical digital manufacturing, but it is also a good example of why 3D printing should not be treated as the answer to every part.
A workflow may start with an intraoral scan and CAD design. After that, the manufacturing route depends heavily on the material and device.
For example:
| Part | Common Manufacturing Route |
|---|---|
| Dental model | Resin 3D printing |
| Surgical guide | 3D printing + post-curing |
| Temporary restoration | Printing or milling |
| Zirconia crown | CNC milling + sintering |
| Metal dental structure | Additive or subtractive process |
| Final surface | Polishing / finishing |
So it is more accurate to describe 3D printing as part of the digital dental workflow rather than treating the entire workflow as additive manufacturing.
That same principle applies to many medical products.
The design may be digital, but the best manufacturing process still depends on the part.
“FDA-Approved Material” Is Usually Too Simplistic
Another common source of confusion is material terminology.
Terms such as “FDA-approved titanium” or “FDA-approved resin” are often used too loosely.
In practice, regulatory suitability depends on much more than the raw material name. The finished device, intended use, patient contact, manufacturing process, cleaning method, sterilization, and testing requirements all matter.
That means two components made from the same base material can still have very different regulatory requirements.
For medical device sourcing, the more useful questions are usually:
-
Is the specified material traceable?
-
Is the manufacturing process controlled?
-
Is the finished component suitable for its intended use?
-
Are the required certificates and inspection records available?
-
Has the relevant device or material system been validated for that application?
So medical-grade does not automatically mean universally approved for every medical use.
The application matters.
Bioprinting Is Interesting, but It Is Not the Main Story Yet
Bioprinting gets disproportionate attention because the concept is exciting.
Research teams are working with cell-based materials, tissue structures, scaffolds, and regenerative medicine. These areas may eventually become extremely important.
But they should not be mixed with the more established use of 3D printing in medical device manufacturing.
Today, the applications much closer to normal industrial production are things such as:
-
surgical models;
-
guides;
-
implants;
-
prosthetic components;
-
dental devices;
-
product development prototypes.
Printed replacement organs remain a research challenge rather than a routine manufacturing reality.
For companies developing actual medical devices today, the more relevant question is usually not whether an organ can be printed.
It is whether a specific component should be printed, machined, molded, or produced through a combination of processes.
3D Printing vs. CNC Machining: The Better Question Is “Which Feature?”
Comparing 3D printing and CNC machining as if one technology needs to replace the other is not very useful.
The processes are good at different things.
| Requirement | Better Starting Point |
|---|---|
| Patient-specific geometry | 3D printing |
| Internal lattice | 3D printing |
| Complex internal channel | 3D printing |
| Fast design iteration | 3D printing |
| Precision bore | CNC machining |
| Threaded feature | CNC machining |
| Flat sealing surface | CNC machining |
| Tight positional tolerance | CNC machining |
| Printed lattice + precision interface | Hybrid: printing + CNC |
| 10–50 plastic prototypes | Printing / vacuum casting |
| High-volume plastic housing | Injection molding |
The decision becomes much clearer when the part is broken down feature by feature.
If complexity creates the value, additive manufacturing is attractive.
If precision creates the value, machining usually becomes more important.
If volume creates the value, molding or casting may eventually make more sense.

The Most Useful Future Is Probably Hybrid
Medical 3D printing does not need to replace traditional manufacturing to become more important.
In fact, the opposite is already happening.
The technology becomes more useful when it is integrated with machining, inspection, digital design, scanning, molding, and other processes.
A printed titanium component may still need a machined interface. A printed prototype may eventually become an injection-molded production part. A patient-specific guide may begin with imaging data but still depend on careful clinical review and dimensional verification.
The process changes depending on what matters most at each stage.
That is probably the most practical way to look at 3D printing in medicine:
Print what is difficult to create. Machine what is difficult to control. Use molding or casting when volume starts to matter.
The technology is important.
Choosing the right process is more important.
Moving From Prototype to Production
Once a medical device design becomes stable, the discussion usually changes from “Can we make this?” to “Can we make this repeatedly, inspect it properly, and scale it?”
XY-GLOBAL supports medical device projects through prototype and production stages, including precision CNC machining, vacuum casting, injection molding, secondary machining, and dimensional inspection.
If you are evaluating the next manufacturing step for a medical component, send us your 2D/3D files, material, quantity, surface requirements, and critical tolerances.
Our engineering team can review the design and help identify a practical manufacturing route.


Share:
Investment Casting Vs Sand Casting: Which Process Is Better For Your Custom Part?
CNC Machining Vs Investment Casting: How To Choose For Complex Metal Parts